> ## Documentation Index
> Fetch the complete documentation index at: https://developers.loyaltylion.com/llms.txt
> Use this file to discover all available pages before exploring further.
# Magento 1
LoyaltyLion has support for Magento 1. You still install LoyaltyLion via Magento as normal, however you will need to handle the frontend implementation of the SDK yourself.
Magento 1.x hit end-of-life in June 2020. We do not accept new Magento 1.x
signups.
## Version support
LoyaltyLion has full support for Magento 1, both the community and enterprise editions. This is the guide for Magento 1.x.
| Magento edition | Minimum compatible version |
| -------------------- | -------------------------- |
| Magento 1 Community | 1.7 |
| Magento 1 Enterprise | 1.12 |
## Understand the LoyaltyLion extension
The LoyaltyLion extension for Magento 1 has three primary responsibilities:
* We add a single frontend block to your layout, which loads the [LoyaltyLion SDK](/sdk/) to provide customer UI
* We add observers to your order and customer lifecycle, to keep LoyaltyLion in sync as this data changes
* We add an additional REST API endpoint to manage price rules and rewards
We don't modify your database schema, add cron jobs, or modify customer data
within your database. This minimizes the risk of incompatibility between
LoyaltyLion and other modules.
## Install Magento 1
Download the [LoyaltyLion for Magento 1.x](https://s3-eu-west-1.amazonaws.com/loyaltylion-static/magento/LoyaltyLion-1.7.0.tgz) package file.
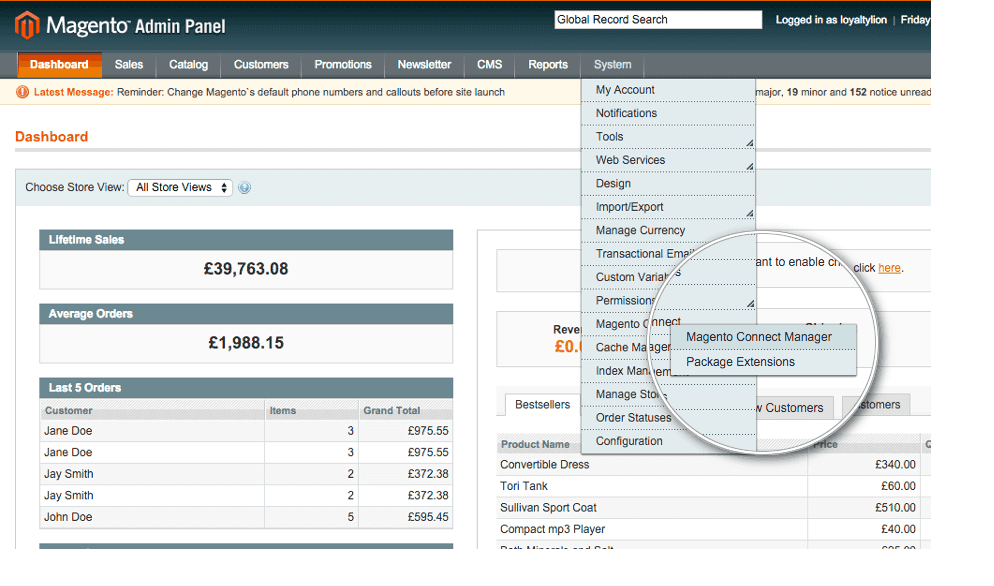
Once downloaded, sign in to the back office as an administrator and navigate to `System > Magento Connect Manager`.
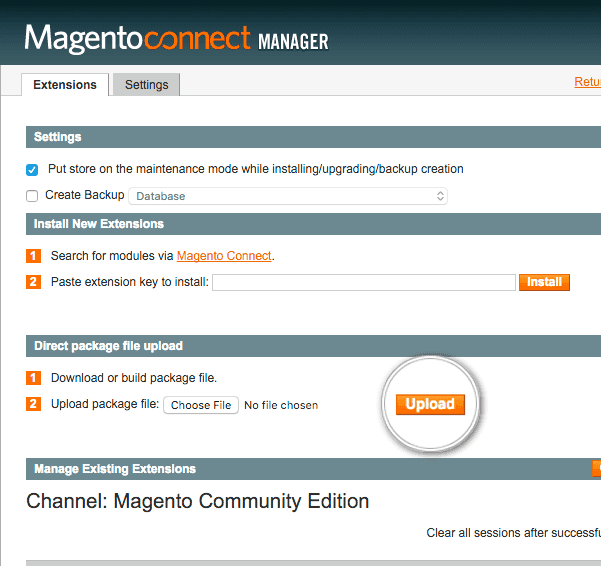
 Select the LoyaltyLion package file you just downloaded and click **Upload**.
 You must now logout of the back office and then log back in again for the module to be fully loaded in your shop.
Your Loyalty Program is completely hidden from your customers until you choose
to launch using the button on the LoyaltyLion admin dashboard.
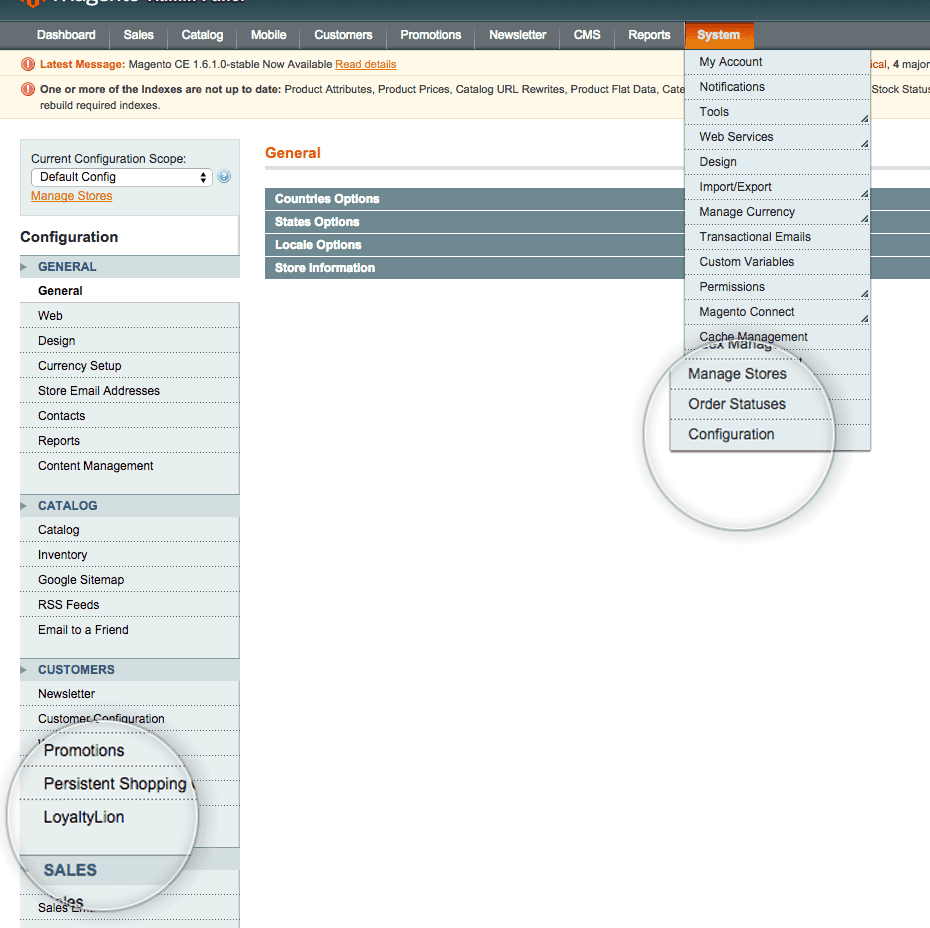
First, you need to enable the extension. In Magento, head to `System > Configuration` and then click the **LoyaltyLion** option, in the left menu under **Customers**.
You must now logout of the back office and then log back in again for the module to be fully loaded in your shop.
Your Loyalty Program is completely hidden from your customers until you choose
to launch using the button on the LoyaltyLion admin dashboard.
First, you need to enable the extension. In Magento, head to `System > Configuration` and then click the **LoyaltyLion** option, in the left menu under **Customers**.
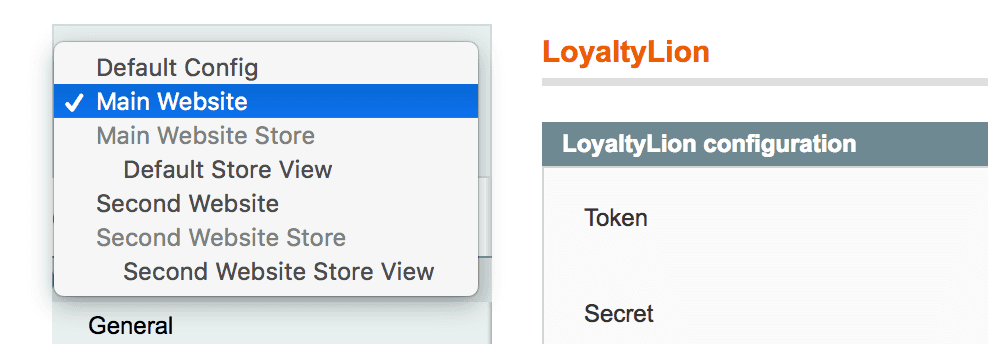
 Next, you need to pick your configuration scope. Pick the **website** you wish to set up a Loyalty Program for.
LoyaltyLion isn't visible or active for customers on other **websites** hosted on the same Magento server.
Each token-secret pairing may only be used once. If you wish to install LoyaltyLion on multiple websites, then you need a secondary program. Please email [support@loyaltylion.com](mailto:support@loyaltylion.com) if you wish to add one.
Next, you need to pick your configuration scope. Pick the **website** you wish to set up a Loyalty Program for.
LoyaltyLion isn't visible or active for customers on other **websites** hosted on the same Magento server.
Each token-secret pairing may only be used once. If you wish to install LoyaltyLion on multiple websites, then you need a secondary program. Please email [support@loyaltylion.com](mailto:support@loyaltylion.com) if you wish to add one.
 Enter your LoyaltyLion `secret` and `token`. You can find these by referring to your setup page.
Click on the **LoyaltyLion configuration** bar and enter the following details in the boxes provided, then press **Configure API access**:
Enter your LoyaltyLion `secret` and `token`. You can find these by referring to your setup page.
Click on the **LoyaltyLion configuration** bar and enter the following details in the boxes provided, then press **Configure API access**:
 You can now return to the setup page and check to see if LoyaltyLion was
installed correctly.
Customers are authenticated with the LoyaltyLion SDK based on a server-generated token. [Before launching your loyalty program, ensure that the `loyaltylion_sdk` block isn't cached](https://help.loyaltylion.com/en/articles2197829-ee-cache-debugging-on-magento).
You can now return to the setup page and check to see if LoyaltyLion was
installed correctly.
Customers are authenticated with the LoyaltyLion SDK based on a server-generated token. [Before launching your loyalty program, ensure that the `loyaltylion_sdk` block isn't cached](https://help.loyaltylion.com/en/articles2197829-ee-cache-debugging-on-magento).